3D Modelling in Unreal Engine 5: Tips and Tricks
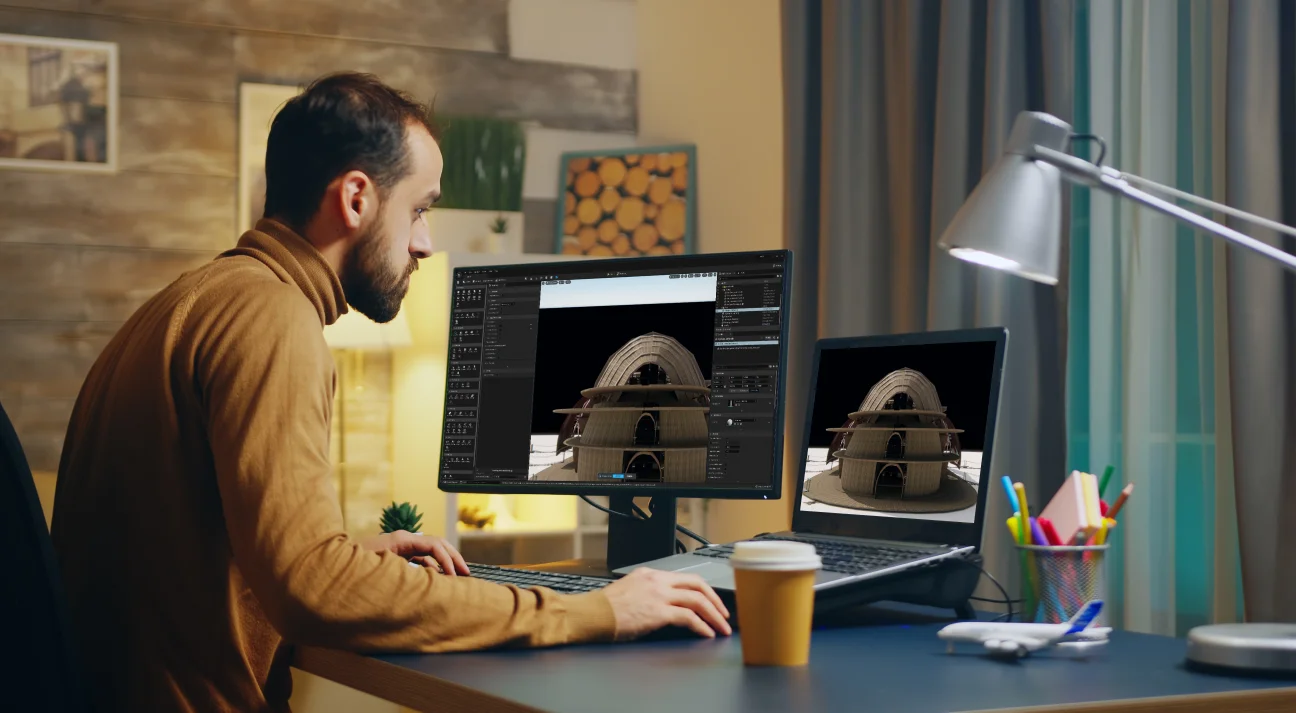
Did you know Unreal Engine also supports 3D modelling? In addition to its robust game development and rendering capabilities, Unreal Engine offers powerful tools to help build 3D models directly within the platform that integrates seamlessly into your projects. This blog explains the process of 3D modelling in Unreal Engine 5 helping you start the 3D modelling in no time.
Ever wondered if you could create 3D models directly in Unreal Engine without bouncing between multiple programs? What if we told you that Unreal Engine isn’t just for game design and coding — it can be used for 3D modelling tweaking? Yes, that’s right!
Unreal Engine’s modelling tools let you sculpt 3D assets directly within the engine, making it a one-stop shop for editing, testing, and refining your models.
Why is this such a game-changer?
But what makes Unreal Engine truly perfect for modelling?
How to make 3D models in Unreal Engine?
Well, imagine being able to refine your models and see them come to life in the same environment — no exports, no imports, just smooth transitions. Unreal makes it a breeze to see how your creations behave under different conditions.
These are not the only attractions, there are a lot more that go beyond Unreal Engine game development ventures. This blog discusses these advantages and the process to help you make 3D models in Unreal Engine.
What is 3D Modelling?
A 3D model is a detailed virtual representation that defines the shape, structure, and appearance of an object or scene in three-dimensional space. On the flip side, 3D modelling is the process of creating a three-dimensional representation of an object or scene with the help of a software. In 3D modelling, artists build digital models by defining the shape, structure, and surface details of the object in a virtual 3D space. These models can be anything from simple shapes, like cubes and spheres, to complex objects such as characters, buildings, or landscapes.
Once the model is created, textures, colors, and materials are applied to give it more realism or style. 3D models are used in a variety of industries, including gaming, film, architecture, product design, and virtual reality, allowing for interactive and lifelike representations of the physical world or imaginative concepts.
What’s the Role of Unreal Engine in Completing 3D Modelling Process
The first step is familiarising with the Unreal Engine user interface and main tools. Unreal Editor is the main tool which is used to perform all modelling, texturing, and rendering tasks. Its viewport gives you a real-time look at how your models will appear in a game or project.
Before starting you should know that you cannot make a 3D model in Unreal Engine from scratch. However, you can create the 3D model in Blender or Maya and import it in Unreal Engine to tweak it according to design or game requirements.
Moreover, Unreal Engine helps manage polygon counts in 3D modelling which is a key factor in balancing performance and quality. It’s designed to handle large scenes with high detail, perfect for creating game character design, environment modelling, level design, etc.
Unreal Engine also offers tools to optimize 3D models by reducing polygon counts with levels of detail (LOD) techniques, ensuring minimal impact or visual quality.
What’s So Special About Unreal Engine That Enhance 3D Models
Unreal Engine (UE) has become a leading technology for game design and rendering, particularly, due to several unique features and capabilities. Here’s what makes it stand out for your production pipeline:
Blueprint System
Using Blueprints, you can quickly add interactivity to your 3D models, like testing doors that open or 3D character models that move. The feature is useful for evaluating how a model will function in a real-world or game environment.
For architectural visualization or game design, Blueprints can stimulate environmental interactions, such as how light interacts with a model, providing a practical context for your designs.
Moreover, Blueprints also help with animation control, automating tasks, real-time customization, physics simulations, efficient scene management, debugging and refinement.
Material and Lightning Systems
Unreal Engine supports PBR workflows, ensuring materials behave realistically under different lighting conditions. By defining properties like base color, roughness, metallic, and normal maps, artists can create lifelike surfaces for anything from shiny metals to rough concrete.
The Material Editor uses a node-based interface, making it easy to create complex materials by visually connecting logic and textures. Users can blend multiple textures, add dynamic effects like emissive glow, or create procedural materials for flexibility.
Along with it, the engine has pre-baked lighting for models, optimized for non-interactive visualizations or scenes where performance is a priority. Unreal Engine’s GI simulates how light bounces between surfaces, adding realistic indirect lighting enhances the depth and realism of a scene.
Procedural Environment
Procedural Environment tools greatly streamline the environment design process by automating the creation of large, detailed, and realistic environments. These tools allow for the efficient placement of assets like trees, rocks, and buildings, following rule-based systems that ensure natural variation and consistency across scenes.
They enable the rapid generation of trains, foliage, and other environmental elements, making it easy to prototype and refine expansive worlds. Procedural systems also support real-time adjustments, such as tweaking density or scaling objects, and can dynamically update environments based on interaction or events.
By reducing manual work, enhancing realism, and offering scalable solutions for handling large scenes, Unreal’s procedural tools free up designers to focus on creative and intricate aspects of modeling while optimizing performance with features like Level of Detail (LOD) integration.
Large Community and Dedicated Support
Unreal Engine has a large and active community that provides knowledge, tools, and assistance. The active community experts share tutorials, forums and asset libraries, making it easier to learn new techniques or troubleshoot issues.
With access to free and paid marketplace assets, modellers can find ready-made resources to speed up workflows. This ecosystem fosters collaboration, accelerates problem-solving, and ensures that both beginners and professionals have the guidance and tools to learn how to make 3D models in Unreal Engine.

What’s the Process of 3D Modelling in Unreal Engine 5?
The process of 3D modelling in Unreal Engine 5 follows a structured workflow, which includes various stages within the engine. Here’s an overview of the how to start 3d modelling process:
Set Up Plugin
To start with, use the Black or Third-Person Template, configure the project settings to match the unit scale of your modelling software and enable relevant plugins like the Modelling Tools Editor mode if needed.
Prepare the scene by removing unnecessary assets, adding a ground plane, and setting up lighting with Directional and Sky Lights for even illumination. Import your 3D assets in compatible formats, and apply materials using Unreal Engine Material Editor.
Add a cinematic camera for precise framing and a Post Process Volume to enhance the visuals with effects like ambient occlusion and bloom. With this setup, Unreal Engine becomes a powerful tool for testing, visualizing and enhancing your 3D models.
Modelling
You can choose many ways to complete the 3D modelling in Unreal Engine. These examples are as follows:
Primitive modelling serves as the foundation, allowing users to create basic shapes like cubes, spheres, and cylinders using the Add Primitive Tool, which can be adjusted and modified with operations like extrusion or beveling to form complex structures.
Curve modelling takes a more fluid approach by using splines or curves to define paths or shapes, which can be extruded or swept to generate 3D geometry, ideal for creating smooth, flowing objects like pipes or roads. Once a model takes shape, converting it into editable geometry through tools like “Convert to Static Mesh” allows for detailed refinements.
Individual polygon editing provides control at the vertex, edge, or face level, enabling precise modifications such as extrusions, beveling, or adjustments to topology.
Digital sculpting tools let users manipulate the surface of the model directly with brush-like tools to add, subtract, or smooth features, making it perfect for creating terrain, character models, or intricate designs. Together, these methods create a versatile workflow for crafting everything from basic assets to highly detailed models within Unreal Engine.
UV Mapping
UV mapping in 3D modelling is the process of unwrapping a 3D model’s surface and mapping it onto a 2D plane so that textures can be applied correctly. In Unreal Engine, UV mapping is crucial for ensuring that textures look accurate and realistic on 3D models.
UV mapping can be divided into six different techniques, each offering a unique approach to unwrapping and applying textures to 3D models. Here are the key methods:
Automatic Unwrapping – In this method, the 3D model is “unwrapped” to create a 2D representation of its surface. It’s particularly effective for complex models, like characters or organic shapes, and helps minimize texture stretching or distortion.
Planar Mapping – This technique projects the 3D model’s surface onto a flat plane, making it ideal for objects with flat surfaces. It’s commonly used for simple objects like walls or floors.
Cylindrical Mapping – This method wraps the model’s surface around a cylinder. It’s best for cylindrical or tube-shaped objects like pipes or bottles, allowing for seamless texture wrapping along the length of the object.
Spherical Mapping – Similar to cylindrical mapping, but in this case, the texture is applied to the model as if wrapping it around a sphere. This technique is ideal for objects that are roughly spherical, like planets or balls.
User-Defined Mapping – This technique gives the artist control over the UV mapping process, allowing them to manually set seams and define how the texture should be applied to specific parts of the model. It’s a more hands-on approach, providing precision for complex and custom shapes.
Camera Mapping – Camera mapping projects textures based on the viewpoint of the camera, often used for background elements or for creating a highly detailed look from a specific perspective. This technique is useful when you need to apply textures that align perfectly from a particular camera angle or shot, often used in visual effects and cinematic scenes.
You can opt for any method but each of these UV mapping methods serves a specific purpose and can be selected based on the shape and complexity of the 3D model, ensuring accurate and efficient texture application in various scenarios. Hence, you must choose wisely to obtain desired results.
Tweaking
Model tweaking is the next step of 3D modelling in Unreal Engine. The step helps refine 3D assets for optimal performance and quality. It includes optimizing geometry to reduce polygon count without sacrificing visual fidelity, fixing normals to ensure smooth lighting and shading, and adjusting texture coordinates to eliminate any stretching or misalignment.
Additional details like normal maps and bump maps are added to enhance surface textures while testing the model in the engine ensures it performs well under different lighting conditions and integrates seamlessly into the game environment.
Finally, performance considerations such as reducing draw calls and optimizing texture sizes help maintain a smooth gameplay. This process ensures that your 3D model not only looks great but also functions efficiently within Unreal Engine.
Sculpting
The sculpting process for 3D modelling in Unreal Engine typically begins with the creation of a base mesh, which is often generated in external 3D modelling software like Blender, ZBrush, or Maya. While Unreal Engine itself isn’t a primary sculpting tool, it allows for the import of these models for further refinement and integration. Once the base mesh is ready, detailed sculpting is usually done in dedicated software, where high-resolution features like wrinkles, muscle definition, and surface textures are added.
After sculpting, the model undergoes retopology, a process where the high-poly model is simplified into a lower-polygon version suitable for real-time applications. This low-poly mesh is then baked with normal maps and other texture details from the high-poly model to retain the appearance of complex geometry without the computational cost.
Texturing follows, where external tools like Substance Painter or Quixel are used to create PBR textures, which are then imported into Unreal Engine and applied to the model’s materials. Once the model is fully sculpted, textured, and optimized, it is integrated into Unreal Engine, where further adjustments, like setting up Level of Detail (LOD), collision meshes, and rigging for animation, are made if necessary. Unreal’s material editor is used to fine-tune the appearance of the model in the scene, while additional optimizations ensure the model performs well in real-time environments.
Designing 3D models in Unreal Engine is more than a technical process—it’s an opportunity to transform ideas into captivating visuals. Don’t be afraid to experiment, break conventions, and create your unique models. For better outcomes, you can hire game designers from a reliable company to craft intricate character models, vast landscapes, or immersive environments.

Why Choose 300Mind for 3D Modelling? Discover the Difference
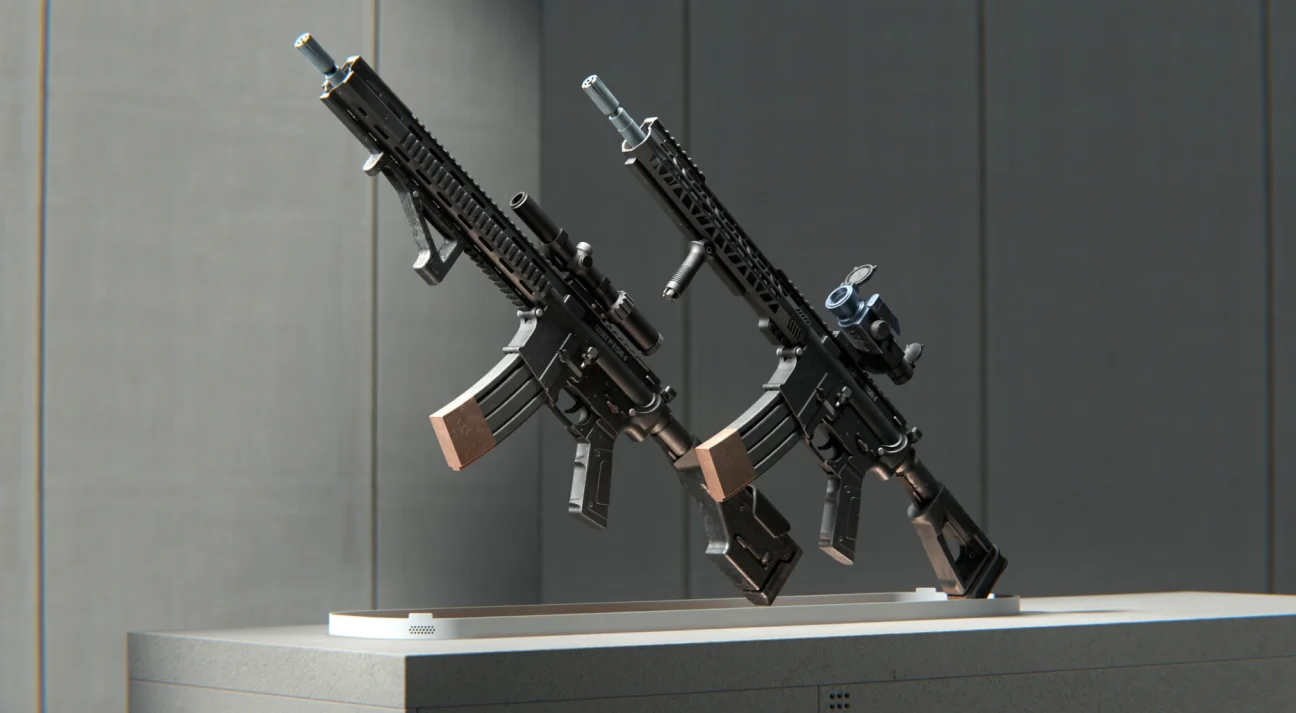
300 Mind has been at the forefront of game development for over a decade, providing high-end 3D modelling services that elevate player experiences. We specialize in designing complex low-poly models, high-fidelity textures, and real-time assets optimized for seamless integration with Unreal Engine. We use industry-standard tools like ZBrush, Blender, and Maya to craft everything from character models and environments to intricate props and weapons, all built to meet the performance demands of modern games.
Our focus on efficiency, optimization, and AAA quality ensures that your models not only look stunning but also run smoothly, whether in open-world games, VR experiences, or mobile games. As a trusted game development company, 300Mind delivers game-ready assets on time, pushing your project forward while maintaining visual excellence.
FAQs on Unreal Engine
Blender is better for detailed 3D modelling and animation, while Unreal Engine excels in real-time rendering and interactive applications. They complement each other, with Blender used for asset creation and Unreal for visualization and interactivity. The choice depends on your project’s focus and requirements.
Yes, Unreal Engine is free to download and use for creating games, apps, and other projects. However, Epic Games charges a 5% royalty on gross revenue exceeding $1 million for commercial products using Unreal Engine. There are no upfront costs, making it accessible for both indie developers and larger studios.
The best 3D modeling software depends on your needs and expertise. Blender is highly popular for its versatility, being free and open-source, making it ideal for beginners and professionals alike. Maya is an industry standard for complex 3D animation and modeling, widely used in film and game development. ZBrush excels in sculpting detailed models, while 3ds Max is great for architecture and design. Consider your project goals, budget, and learning curve when choosing the best tool.
Unreal Engine 5 supports 3D file formats such as FBX, OBJ, GLB files, etc. These file formats help import assets, including models, animations, and materials from other 3D modelling software like Maya, Blender, etc.


