Game Level Design Guide: From Architects to Adventure
We all love games with obstacles divided into multiple levels. These thoughtfully crafted game levels are a result of meticulous game level design, which keeps the thrill intact and helps players master the gameplay. Additionally, well-designed levels offer higher returns on investments within a short period after the game’s launch.
As players advance through the levels, they feel a sense of pride and accomplishment that motivates them to play more and achieve all rewards. However, what seems easy on the front is a challenging task to take on the backside. A lot goes into game level design to make them engaging and adventurous.
You will know if you have ever tried designing, and you wouldn’t if you never gave it a try. If you want to learn how to design game levels, then our game level design guide will take you through the process and tell you the do’s and don’ts of it. If you want to invest in game level design then it will walk you through the process and help you hire the best professionals for the work.
What is Game Level Design?
Game level design is the foundation upon which a game’s entire experience is built. It is the bridge between imagination and immersion, where players step into the world level-designers have crafted.
In other words, game-level design is the process of developing various environments, spaces, challenges, and experiences within a video game. It includes creating structures, layouts, objects, enemies, interactions, and visual elements that make up the individual levels or stages of the game.
The primary goal of level designing is to offer an engaging, entertaining, and memorable experience to players that keeps them hooked to the game for a long time.
Game Level Design Stages and Best Practices
Game level development involves a series of stages that transform initial concepts into fully realized and playable environments. These stages ensure proper alignment and balance of these levels. Below-mentioned is the preview of the process:
Outline Narratives and Backstory
Think of a backstory you would like to put in the level and place the elements gradually. Each level has a story to tell and a mission to achieve. You have to guide the player through this mission and encourage them to achieve the objective.
Moreover, these narrative elements and backstories help players immerse in the game world, providing context for their actions. So, you should also outline these factors and integrate them into the game.
To do so, start by understanding the overarching game narratives, including the main story, plot, theme, key characters, and their motives. You should know how these narratives fit into the broader context and make an impact.
Also, understand the specific role and backstory that the level plays in advancing the game further. Define its critical points, character development moments, and side quests, adding depth to the gameplay.
| Expert Tips & Tricks – Break down the level into key moments, story beats, events, interactions, and revelations that occur during the game time and again. Your story beats must align with the level’s role in the narrative. – Demonstrate the emotions and expressions of the character and draft the storyline and environment art accordingly. – Try creating a detailed design document and outline the level’s goals, challenges, rewards, concepts, gameplay mechanics, narratives, integrations, visual style, etc. You can also make a balloon diagram of the process and clearly define each step. |
Sketching
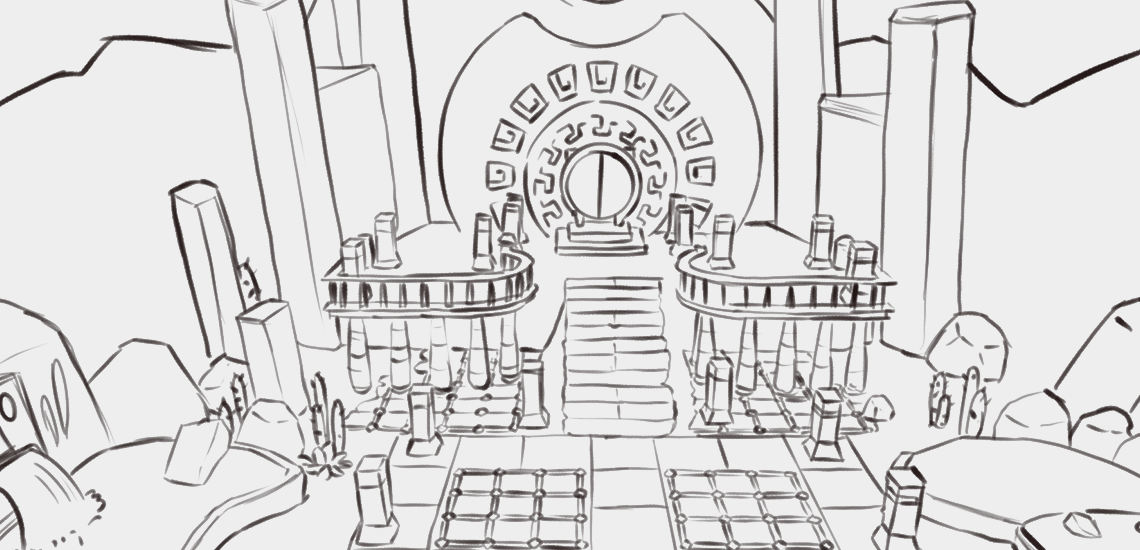
Use all the collected references and research to visualize the level design and layout. Choose design tools you are comfortable with. You can take paper and pencil or digital tools, like graphic tablets and design software. It’s your choice.
Before putting it down on the paper, define the scale of your sketch. For example, how is it supposed to look, and what will be the overview of the entire level? What will be the role of the player on the stage? How will it lead the player, and what rewards and obstacles does it offer? Start drawing the sketch and add details once you figure out these objectives.
Begin the sketch with a rough outline and use basic geometric shapes to display rooms, corridors, pathways, and other major landmarks. Adjust their size and metrics according to the decided shape and layout.
Sketch out prime locations of player engagement, objectives, puzzles, enemies, and interactive objects to give an arch to the game level. Gradually add fine details to the sketch and include environmental features, terrain, and structures, giving it a sense of the real world. Plan the pacing of the level and mark the moments of tension, exploration, and rest.
Create different variations and multiple sketches of a single design. Explore alternative pathways, placement of key elements, and gameplay scenarios before choosing the final sketch.
| Expert Tips & Tricks – Prefer using labels and annotations to indicate context for different areas, gameplay mechanics, and interactions within the sketch. – Iterate and revise your sketches as you develop new ideas, receive feedback, and make adjustments to improve the design. |
Blockout
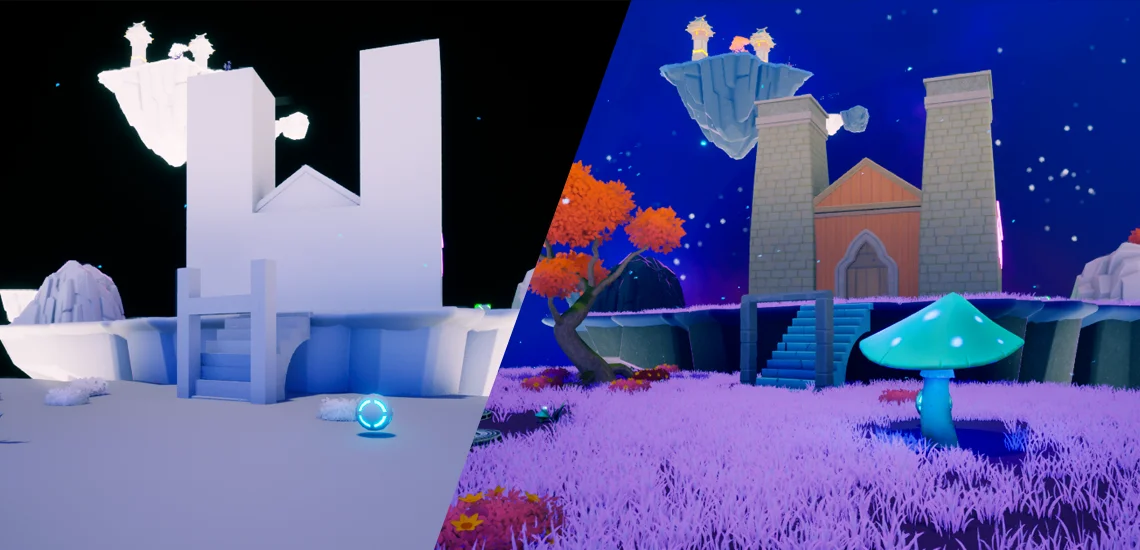
The Blockout stage is the initial phase of building a basic, simplified version of a game level with primitive shapes and placeholders. The version serves as a rough framework for the layout, mechanics, and spatial arrangement. Designers can test and iterate this framework to ensure performance, balance, and flow before investing time in building detailed art assets. You can follow this process to create a Blockout of the game level.
Choose your software for 3D modeling from Blender, Unreal Engine, SketchUp, Unity, etc. Then create a rough design using the sketch and place basic geometric shapes, like cubes, cylinders, and planes, representing the sketch design. Get proportions and overall shapes in the right order, mass, and volume.
Blockout large structures like floors, platforms, walls, ceilings, and other landmarks with simple shapes, defining the pathways and areas of the gameplay. Arrange these structures to achieve the proper spatial arrangement and flow while considering the player’s movement, potential checkpoints, and open spaces during the arrangement.
Define the playable space and leave enough room for players to move around, jump, run, and interact with objects in the game. Put placeholders, including puzzles, indications, switches, doors, collectibles, enemies, etc. These placeholders will help you test the element coordination with the game level layout.
Blockout all elements and create an efficient layout while minimizing unrequired complexities. Test it thoroughly to know how the final design will look after deployment and make adjustments according to your experience and opinion.
| Expert Tips and Tricks – You can use basic lighting during blockout to test the atmosphere and mood. – Prefer using scale figures during the construction. Test the design to identify scaling issues at an early stage. – Avoid making it too big or too small. Anything in excess size or shape will disfigure the design and its flow. |
Gray Boxing
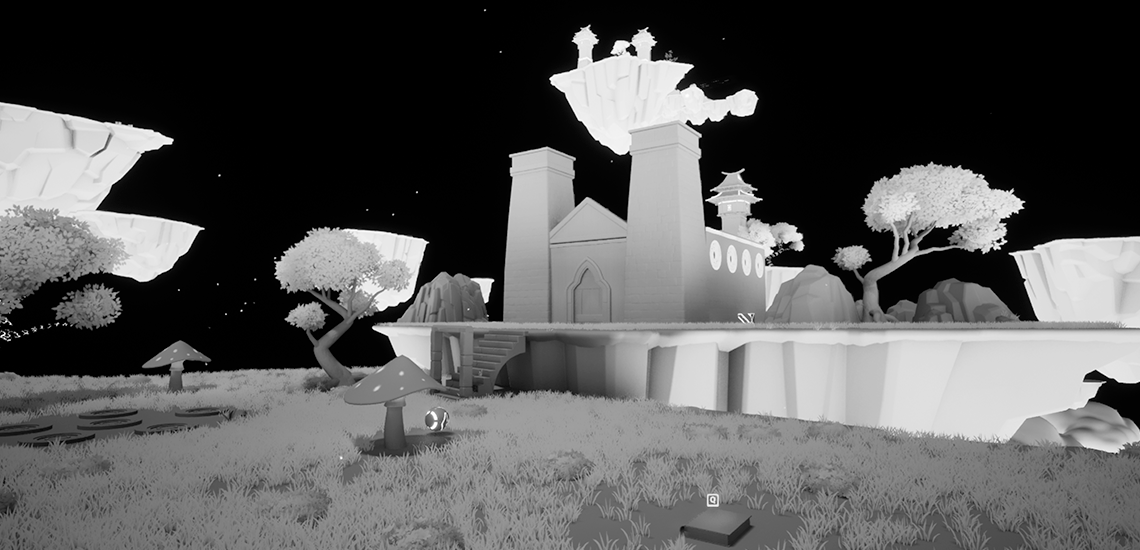
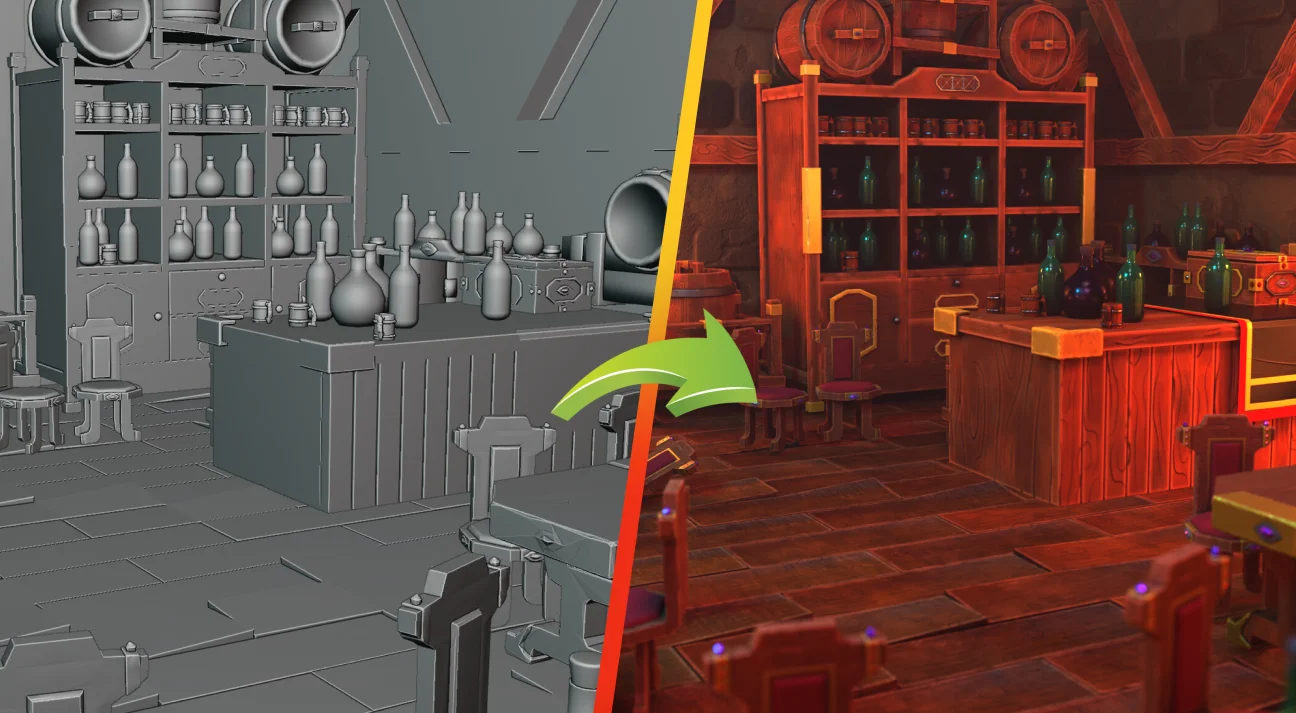
Gray boxing refers to creating a more refined version of the game level by replacing the geometric shapes and placeholders of the blockout model with untextured and monochromatic 3D models.
These models represent the level layout, scale, and gameplay features and serve as an intermediary step between the initial Blockout phase and the final level design. The version makes it easier for artists and designers to align their visions and understand the placement of these elements within the environment.
Replace the geometric shapes of the blockout with less detailed 3D models, representing the elements firmly.
Take the support of basic shapes, extrusions, and simple forms to display structures and objects, but avoid intricate details at this stage and keep them for the next one.
Check the objects and level design alignment and keep the color palette monochromatic. You can also try using basic or neutral colors to keep the focus on gameplay and layout rather than visual aesthetics.
| Expert Tips and Tricks – Pay keen attention to the scale and proportions of the environment and objects. They must not appear out of the place. – Avoid making objects too large or too small, and establish a relation between structures and playable space. |
Important Parameters of Level Designing
Game level design comprises various parameters that support the creation of balanced, adventurous, and immersive game environments. These parameters shape the gameplay experience and demonstrate how the levels fit into the game design. Here are some of the key parameters of the process.
Research & Analysis
Start with figuring out the basics of game-level design and familiarize yourself with the game genre, layout, and mechanics. Analyze levels of other games of similar genres and determine what works for them and what does not. Examine their layouts, mechanics, features, pacing, obstacles, and rewards, and use visual and audio cues to understand the player’s interest and interactions.
Take inspiration from real-world locations, historical settings, landscapes, and architecture. Their models will help you create believable and distinguished surroundings. Review game design documents and their narratives and objectives and align your vision accordingly.
Concept
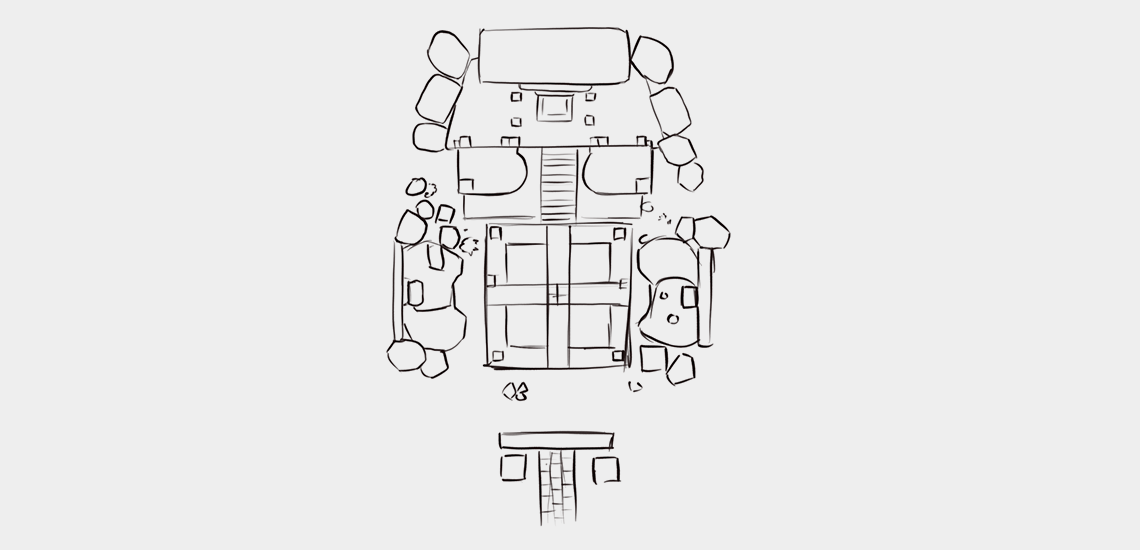
Before you start designing game levels, have a clear concept in your mind. A well-detailed concept outlines the overarching idea, theme, and purpose of the level creation. It influences every aspect of the design process, provides a clear vision, and helps designers make decisions about the layout, visuals, gameplay mechanics, and other elements.
Summarize the core ideas and game premise, providing a brief overview of the main features. Define game settings, including atmosphere, period, culture, and other setups.
Gameplay Mechanics
You must define game mechanics because they create the rules and systems that govern gameplay experience and player’s interaction with the game. These mechanics decide the order of levels and their creation, the player’s communication with the game, challenges and obstacles, etc. Game mechanics are the core components of any game, and you must outline them before designing the game levels.
Storytelling
Strong storytelling adds context, depth, and emotional engagement to the game. You should set up a backstory with a clear aim, and players must know what your character intends to achieve in the game. What’s the character’s backstory, and why is it playing the game? Figure it out all before you start the design process.
In a nutshell, when levels are designed with storytelling in mind, they become more immersive and engaging for players.
Level Designs of Variable Difficulties
After grayboxing, work on the type of level you want to build for your game. Two types of level designs with variable difficulties are as follows:
1. Level Designs with Easy Difficulties
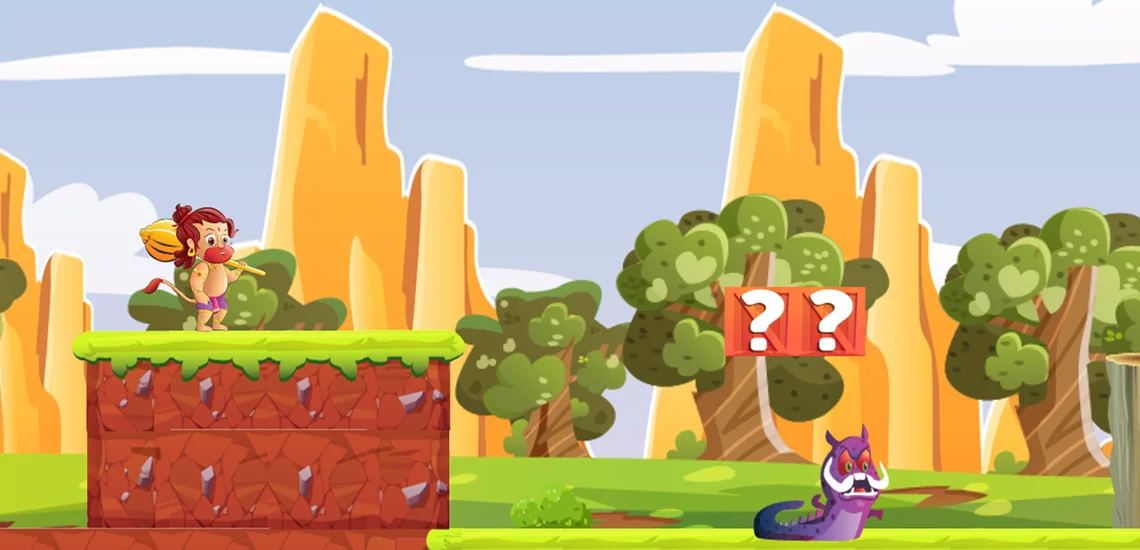
When designing levels for easy difficulties, the primary goal is to provide a more accessible and enjoyable experience for players who may be new to the game or prefer a less challenging experience.
While designing levels with easy difficulties, the main aim is to provide a more accessible and less challenging experience to the players. These levels have simplified obstacles, reduced enemy difficulties, more ammunition and power packs, clear objectives, better chances of survival, lower time pressure, optional challenges, balanced progression, adjustable settings, etc.
When you start working on the design, you must focus on making them more intuitive and forgiving. Along with it, you should reduce the complexity and difficulty of puzzles, platforming sections, or combat encounters.
If your game has combats, make enemies less aggressive and minimize their health risks and damage output. Ensure that fights are easy to win without requiring expert skills.
Reduce hazards like traps, bottomless pits, or environmental dangers. Make the environment less lethal and forgiving, and minimize the chances of falling or making mistakes.
2. Level Designs with Hard Difficulties
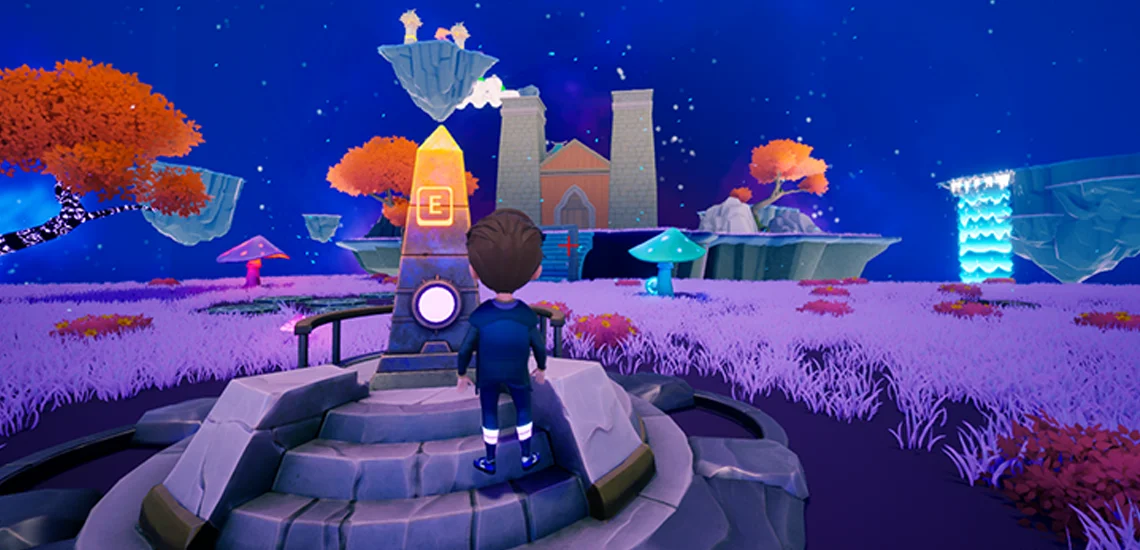
While creating levels with hard difficulties, focus on offering a satisfying, effortful, and challenging experience while maintaining fairness. Your players should win the game, but not that easily.
These levels have complex puzzles and challenges, aggressive and powerful enemies, limited checkpoints, fewer chances and resources, time-bound challenges, deadly hazards, traps, and other hardships. These difficulties offer a thrilling ride to players that is hard to master and conquer.
During the design phase, you should put the difficulties and well-designed challenges at the level and avoid introducing unfair mechanics or enemy behaviors. Players must feel that success is achievable but with skill and strategy.
In combat scenarios, make enemies more durable, aggressive, hard to defeat, and intelligent. Let the players achieve victory through clear strategies and advanced tactics.
Encourage proper management of resources and reduce the availability of health packs, ammunition, and power-ups.
Make objectives less obvious and require players to think critically and explore thoroughly to progress. Avoid excessive hand-holding or clear markers.
Provide less time to finish the game and add urgency, forcing players to make quick decisions.
Make hazards and traps more deadly and perilous, but provide clear visual clues to help players get through them.
| Expert Tips and Tricks – In-game levels of easy difficulties provide health-restoring items, ammunition, or power-ups to support the player in winning the game easily. Avoid giving vague or overly complex tasks and use waypoints or markers to guide players whenever required. – While designing levels with hard difficulties, implement advanced enemy behaviors and AI routines. Enable enemies to adapt to the player’s actions and fight back after calculating their moves. Apart from that, provide less information through the UI and let them rely on their observation and memory. You have to balance firmly between difficulties and handholding. Avoid overdoing with these two factors. |
Character Engagement
Character engagement with the game, environment, collectibles, and enemies is a significant part of level designing. You must design these parts, keeping engagement, exploration, and exploration in mind. Here is a basic overview of this process.
1. Character Interaction with Environment
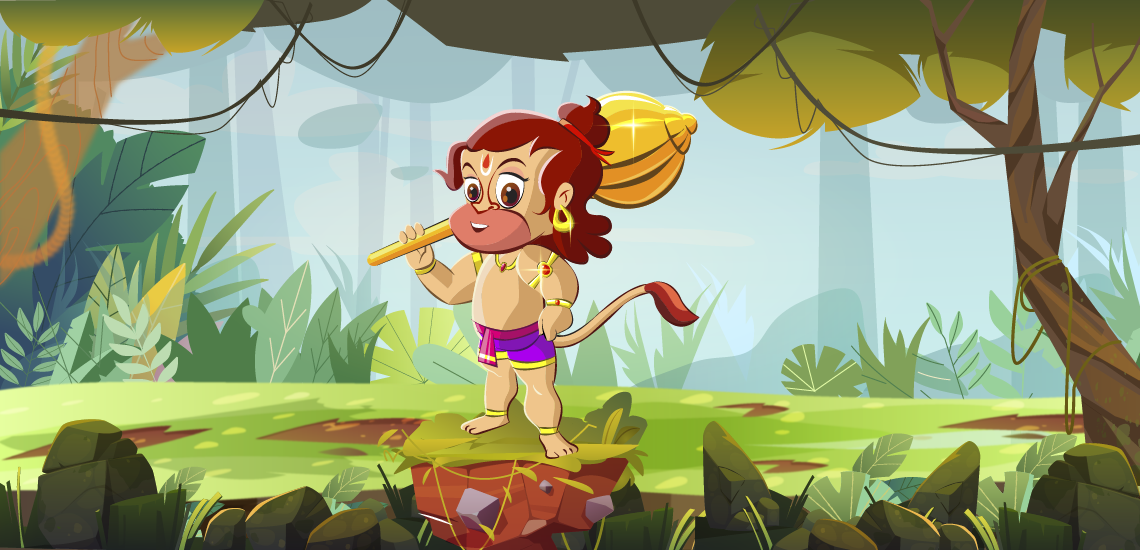
To ensure proper character engagement with the environment, put yourself in the player’s shoes and think about the game. Ponder over the facts, like what will make the game more interesting or character relatable? Also, consider the player’s expectations, desires, and motivations.
Outline goals, rewards, and obstacles in the environment for players within the level. Plan for character development and growth over time and allow them to make decisions, evolve in the atmosphere, and face challenges.
Use storytelling techniques, including dialogues, cutscenes, and in-game events, to evoke emotional responses from players.
Design landscapes, architecture, props, and other required elements, keeping character interaction in mind. Also, design surface details and choose colors and material properties defining the visual appearance of the assets. Techniques like hard surface modeling are especially useful when crafting structured elements like architecture and props with clean edges and precision.
Properly define the environment, so your character interacts with it. Some players just rush through the layout in search of victory or rewards without interacting with the environment. Make sure your players don’t follow this.
2. Character Interaction with Collectables
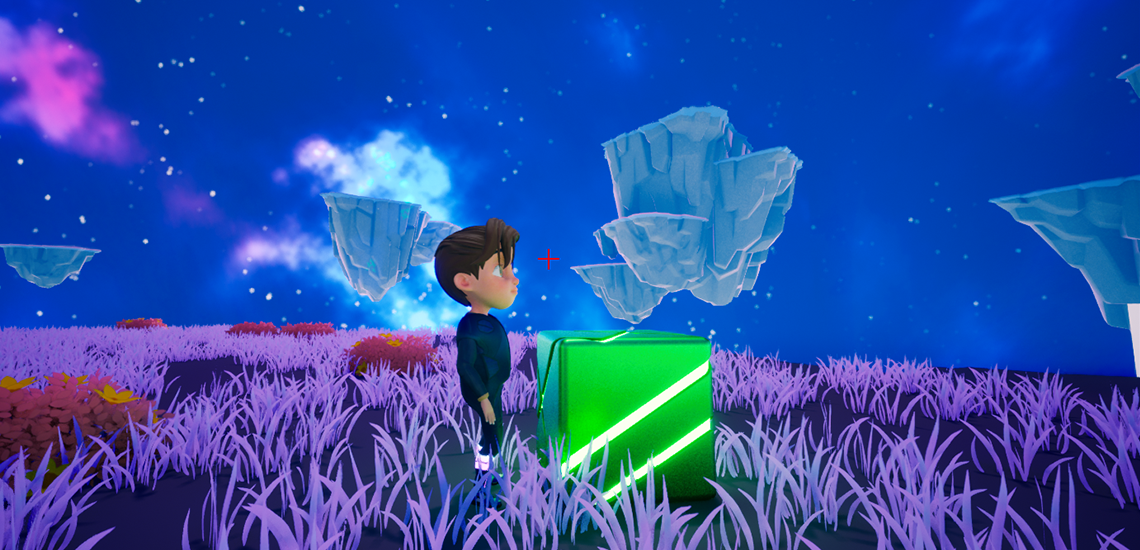
Apart from interaction with the environment, collecting items also plays a role in diversifying the player’s engagement.
To enhance the interaction, make collectibles visually distinct from the environment. Use contrasting colors and unique shapes of glowing effects to draw attention.
Use audio cues or sounds like soft chimes or others during the pickup of each collectible.
Integrate a clear system that displays players’ progress in collecting items. You can add a counter, progress bar, or checklist with received collectibles.
Put collectibles in different locations, hidden areas, branching paths, and secret passages and attach rewards or achievements with them.
Use indicators to direct players near the collectibles and put visual and auditory cues like highlights or ping on the minimap to help players locate the items.
3. Character Engagement with Enemies
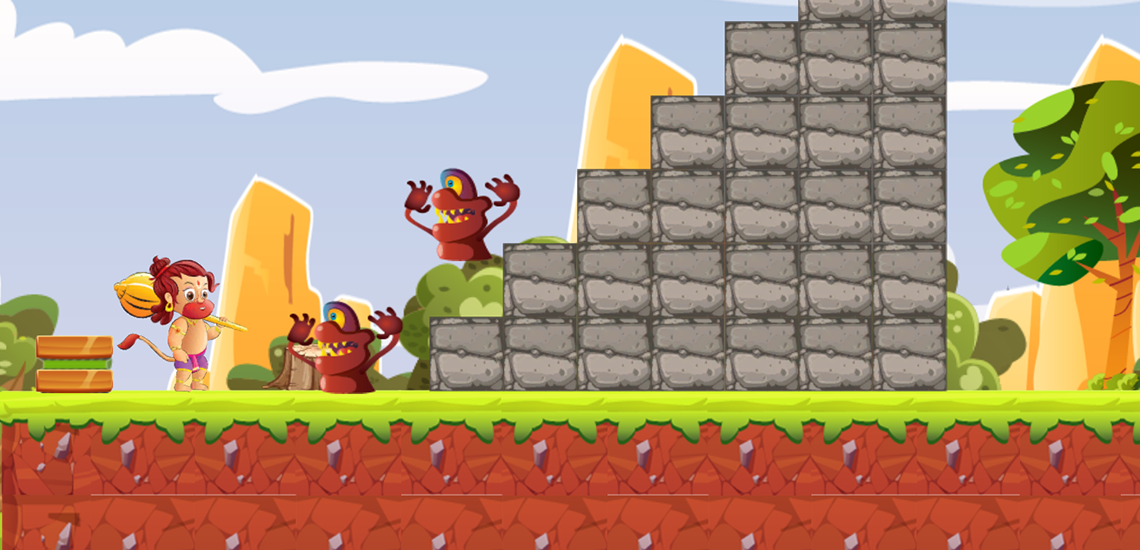
Design a wide range of enemies or a few powerful ones, each with unique abilities, behaviors, and weaknesses. The variety of enemies will encourage players to adapt to better strategies.
Implement intelligent enemies using AI that can react to players’ actions and make tactical decisions.
You can keep different weapons or powers to fight different enemies. The variety will extend the game and keep it unique till the end.
Design levels with environmental elements like destructible objects, cover, traps, and hazards. Allow enemies and players to use these elements during the gameplay.
Give enemies clear visual or audio cues before they execute powerful attacks. It will allow players to react and strategize, adding an element of anticipation and skill.
4. Accessibility of the Environment
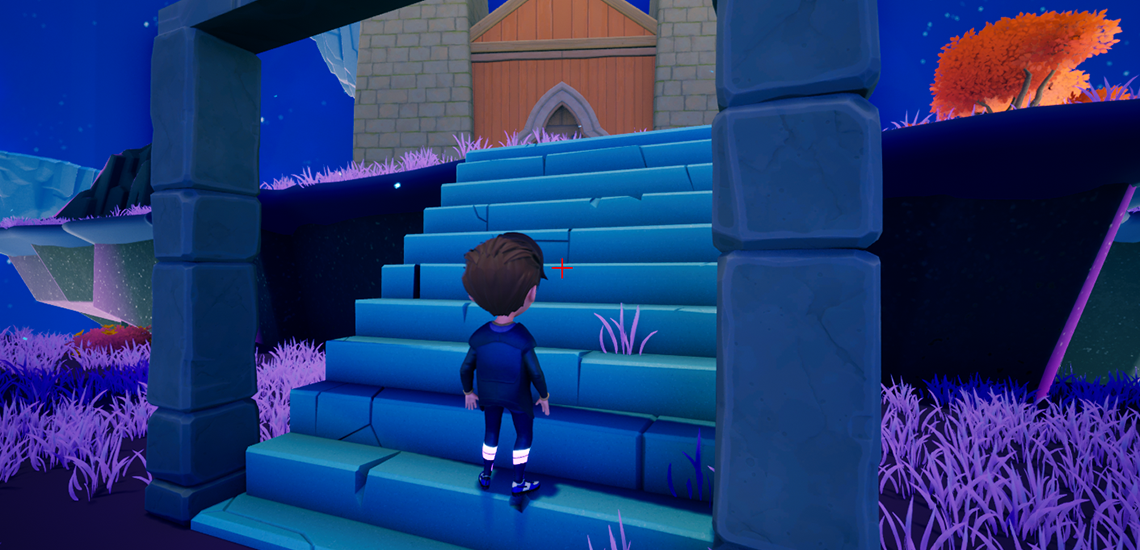
Make the environment, landscapes, architecture, props, and other required elements easily accessible for players.
An accessible environment will make players feel connected to the game world, storyline, characters, and challenges they encounter. It will make them feel like they are a part of the world and must achieve victory to survive the ordeals.
Maintain flow and pacing to avoid player’s inactivity and frustration during the breakdowns. Proper pacing and flow ensure a balanced classification of levels and challenges.
| Expert Tips and Tricks – Design enemies with specific weak points or vulnerabilities that players can exploit. Encourage players to target these weak points for more effective combat. – Ensure players encounter a mix of easy, moderate, and difficult levels and moments while playing the game. It will help avoid frustration and stop players from wandering without knowing what to do next in the game. – Encourage resource management by limiting ammunition, health, and consumables. Players must think strategically about when and how to use their resources during engagements. – Allow players to approach enemy encounters in multiple ways. Offer choices in playstyle, such as stealth, diplomacy, or brute force, and let these choices impact the game’s narrative and outcomes. |
From here, we will move on to post design steps of the process. These steps will enhance the overall look and feel of the design and provide final outputs.
Polishing
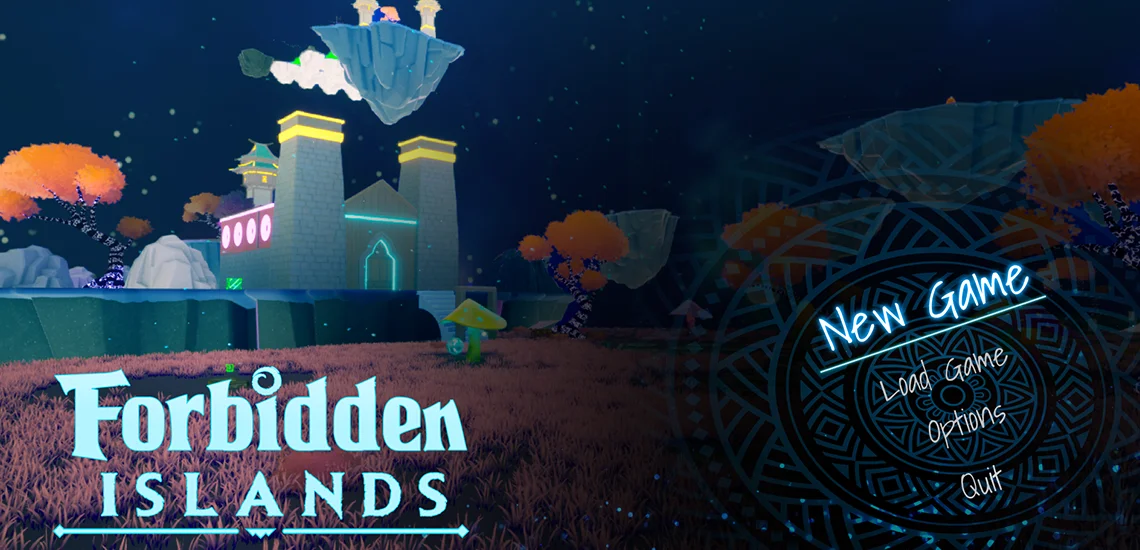
Integrate all elements and move to polishing to execute the process. The stage involves implementing final touches and refinements to the game level. This stage is all about adding the extra layer of detail, immersion, and quality that makes the game level visually appealing.
Adjust the placement of objects, enemies, obstacles, and interactive elements to ensure a seamless gameplay experience for the player through the level. Improve the visual quality of the level by refining textures, lighting, and effects, and video game background design.
Ensure the game level’s aesthetic alignment with the game’s overall art style and narrative, add more details, enhance textures, adjust color palettes, and refine visual effects. Now, move to the audio elements and review background music, ambient sounds, and special effects. Improve their quality before proceeding to the level testing stage.
| Expert Tips and Tricks – Integrate visual and environmental clues to help players understand the dynamics without explicitly telling them what to do. – Reduce the number of polygons, adjust LOD (Level of Detail) settings, and optimize lighting and effects. – Take the support of level design elements to direct the player’s attention to the core area, objects, and secrets. – If the game has a story or narrative, then add environmental storytelling, dialogues, and other narrative elements. |
Testing and Finalization
Review the layout and conduct quality assurance testing to identify last-minute issues that might have occurred during the polishing process. Address technical issues and fix bugs at the level, including collision problems, AI behavior issues, scripting errors, etc.
Refine user interface elements, like health bars, minimaps, and objective indicators, ensuring their integrations with the level. Perform a final pass of the level to ensure its cohesiveness and make sure all the individual elements work together seamlessly.
| Expert Tips and Tricks – Conduct usability testing with individuals who are not part of the development team. This external feedback provides a fresh perspective and helps identify issues that the development team happened to miss during the development phase. – Observe how new players play the game and interact with the level. Note down their response, confusion, delightful moments, frustration, and unexpected behaviors and make changes accordingly. |
Required Skill Set for Game Level Design
Game level design is a multidisciplinary field that requires years-long experience and a diverse skill set. You should evaluate the following skills while choosing developers to design levels for your game.
- Expertise using the latest game engines like Unreal Engine and Unity. You must have scripting abilities and know how to use their level editing tools.
- Experience with 3D modeling software like Blender and Maya to build and modify game levels.
- Knowledge of level editing tools like Unity’s Terrain tools and Unreal Engine’s Landscape Editor.
- Familiar with scripting like C# for Unity and Blueprint Visual Scripting for Unreal Engine to create interactive elements and behaviors in your levels.
- Strong knowledge of lighting techniques and shaders for visual effects to set the mood and atmosphere of game levels according to the selected theme. Understanding the Importance of Lighting in Game Design helps game developers make intentional choices that enhance both realism and player immersion.
- Understanding of collision detection and physics systems to make the object interactions believable for players.
- Proficiency in implementing user interface and user experience principles, intuitive HUD elements, and menus in game-level design.
- Skilled in optimizing levels for performance enhancement, draw calls reduction, LOD (Level of Detail) techniques implementation, and asset management.
- Ability to integrate sound effects and music, AI behaviors, NPCs, and interactive elements in the atmosphere and game levels.
- Skilled in creating clear and precise design documents and level notes and using level design patterns and principles such as pacing, player flow, challenge progression, etc.
Why Choose 300Mind for Game Level Development?
Game level design is a specialized field and requires extensive expertise to create level layouts, environments, structures, challenges, and overall experiences that players interact with. You must hire expert-level designers to pace the gameplay and integrate advanced features and moments of thrill, exploration, and relaxation for players.
Now that you are looking for a game-level design studio, then 300Mind can be your ultimate choice. Our level designers weave the narratives seamlessly into the gameplay environment. They analyze game layout, theme, design principles, technical constraints, user response, market demand, and many other factors before finalizing the level design for your game.
Our team builds levels that are easy to navigate for beginners and adventurous for hardcore gamers. We help you serve a wide range of audiences, propelling the growth of your game to the ladder of great success.
FAQs on Level Design
The final cost of game level design depends on various factors, including project requirements, game type, involved technologies, level design, required details, technical skills, number of resources, and their geographic locations, etc. Moreover, the price may change over time due to market trends, inflation, and other factors. You can connect with 300Mind to get a proper budget discussion and process details.
You can extend game levels, introduce a new one, or rebuild or republish existing levels after making the required changes. It is very easy to make the game more interesting with game level design.
Game level design demands years of experience and a diverse set of skills to take on complex tasks. Its steps involve handling tools, and other complex process that only professionals can execute. You must hire game level designers to work on your projects and avoid contacting beginners with no or less experience.
You can discuss your design requirements with the 300Mind team, and they will guide you through the process. You can hire our game to work on the project and obtain the desired output within the given deadline.
